Summer is great for the sun and sand, but staying indoors can be uncomfortable if your home has inadequate ventilation, few/inefficient windows, or poor insulation. Installing an AC unit should be one of your priorities if it’s hot inside and you can actually do it as a DIY project to save costs. This might void your warranty, so I recommend this DIY way if buying a second-hand AC unit. Also, there are several factors to consider before and during this installation, such as proper sizing, using the correct refrigerant levels, doing safe electrical connections, and adhering to local regulations, including building codes, so only do this DIY project if you’re a hands-on person with the technical information. Here’s a general overview of how to install a split AC unit in your home.
Split AC Installation Steps
Location Selection
The first step is to pick a suitable location for the window or indoor and outdoor units while considering maximum airflow, proximity to electrical outlets, space requirements, and other such factors. Other requirements to consider include installation only on non-inclined walls, having provisions for draining the condensed water from the indoor unit, and picking rooms that are not moisture-prone to install the indoor unit. If the rooms are not insulated and airtight, fix the doors and windows to avoid leaking cooled air, and consider installing false ceilings and curtains to keep out the heat. Also, the room should be dust-free to avoid choking the filters.
System Evaluation
Assess the already installed electrical capacity on the wall outlets and ductwork to determine if they can support the AC you want to install.
Indoor Unit Mounting
AC units are installed using brackets, so screw the mounting bracket to the wall at the selected location. Ensure it is level and the mounting screws are strong enough to support the unit’s weight. After that, mount the indoor unit to the brackets.
Outdoor Unit Mounting
The outdoor unit is usually larger and heavier than the indoor unit, so you have to mount it on a stable base and leave enough clearance around it to maximize airflow for expelling the heat.
Connecting Refrigerant Lines
Indoor AC units are basically coolers (evaporators) while their outdoor counterparts are heat expellers (condensers). So they must be connected using refrigerant lines (suction and liquid), which are copper pipes, to enable cooling and heat expulsion. When connecting these, ensure proper pipe sealing to prevent leaks and pressure maintenance inside. Follow this up by installing the ductwork while ensuring sufficient insulation and sealing at the joints.
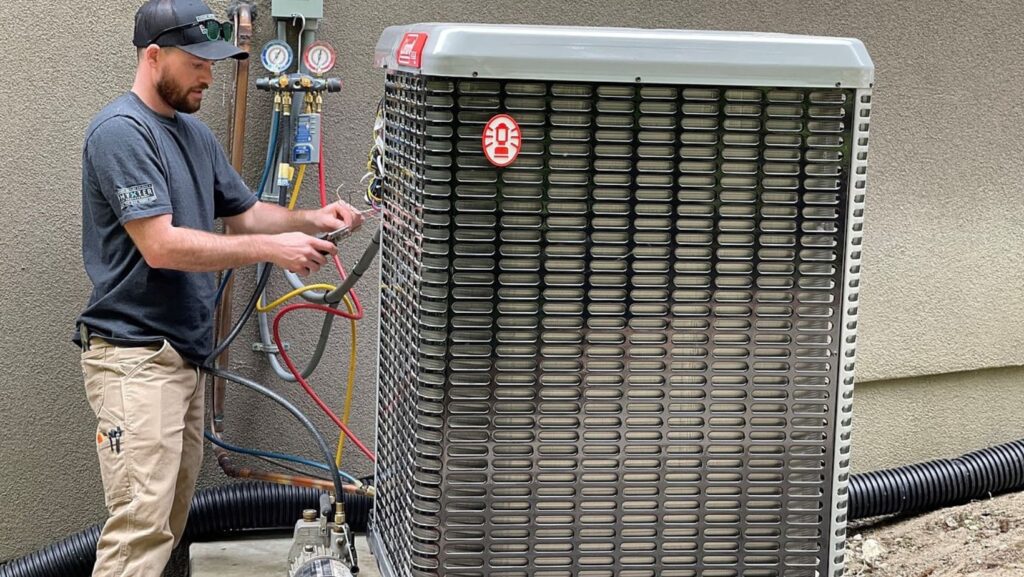
Electrical Wiring
It is recommended to have a dedicated circuit for the AC unit because it takes up quite a lot of power. This means having a dedicated MCB for the system in the electrical panel to eliminate risks of overloading, and separate wiring harnesses from this MCB to the indoor and outdoor units. Also, ensure the wiring contains a grounding connection.
Thermostat Installation
Connect the thermostat to the indoor unit, which will enable you to control the temperature settings.
Testing and Balancing
To ensure the AC is working properly, turn on the unit to determine if the refrigerant levels are okay, the positioning is perfect, and the ducts provide unobstructed airflow.
Location and Spacing Requirements for AC Installation
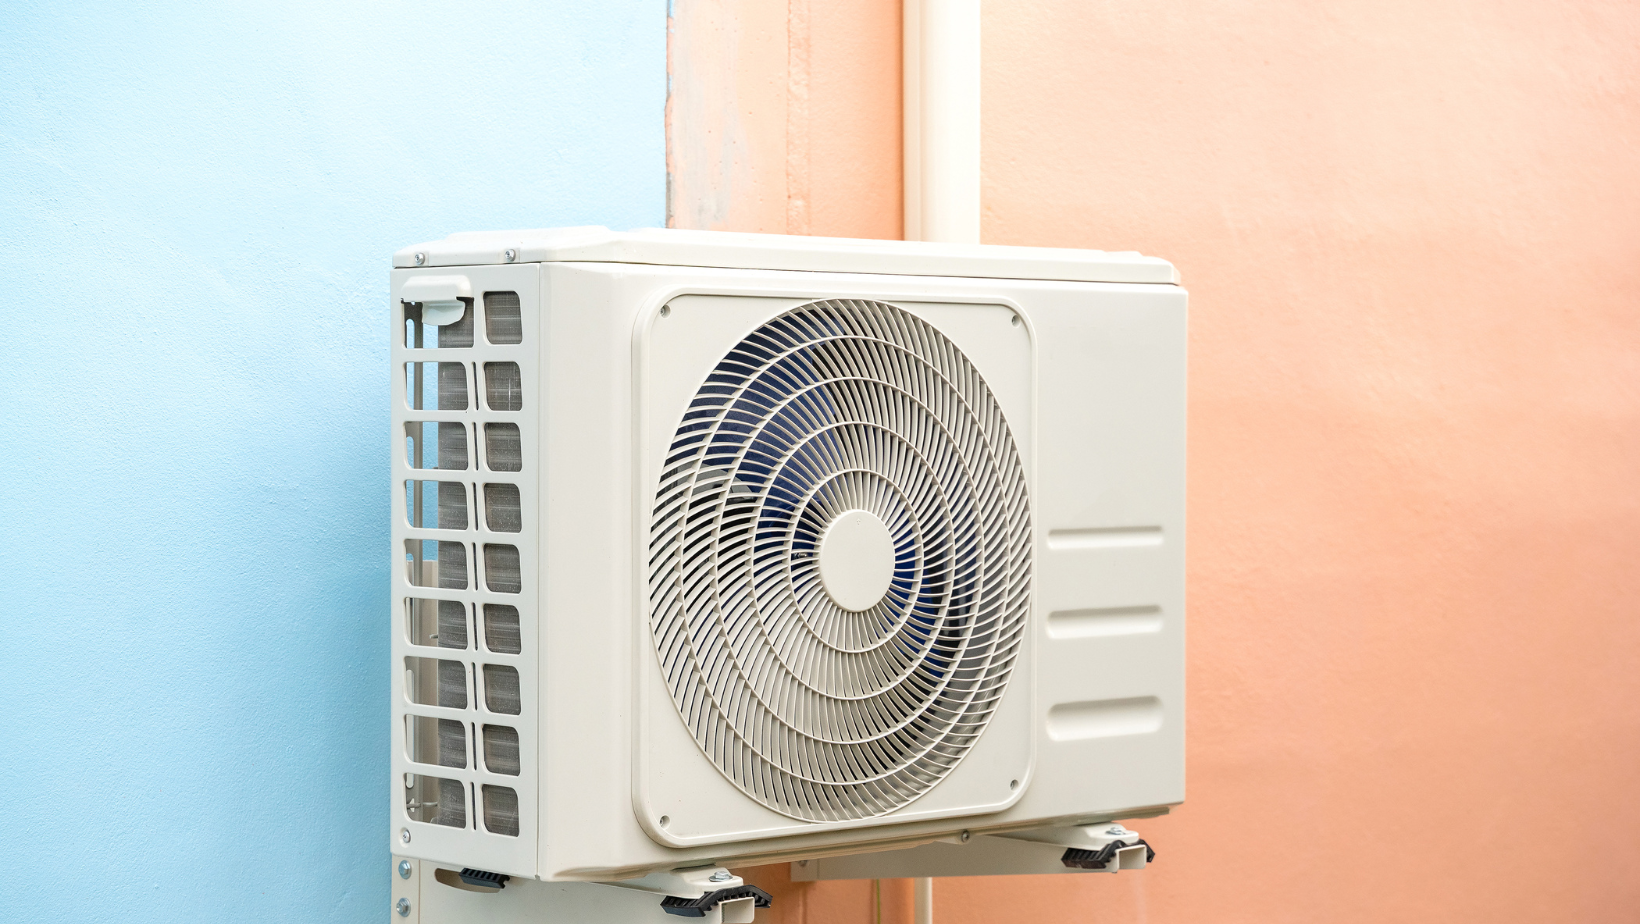
Requirements For Outdoor Units
First and foremost, this AC unit should not be installed where it is exposed to direct sunlight but should be in an easily accessible space to ease maintenance. As for the spacing, ensure the following.
- There’s at least 300mm or 12 inches of free space on the sides and back
- At least 600mm or 24 inches of free space from the front fan
Two outdoor units can be installed in a common space either side-by-side or stacked one above the other. In the latter, the space between the upper and lower units should be at least 8 inches.
Requirements For Indoor Units
The installation surface should not be damp and the wall should be at least 6 inches thick to support the unit’s weight. If thin, you can use a 19mm thick wood paneling. As for the spacing, ensure the following.
- There’s at least 7 feet from the floor to the bottom of the unit for optimal cold air circulation
- At least 300mm or 12 inches of free space above the unit (should not touch the ceiling)
- 5 inches or 125mm minimum free space on either side
What About Window AC Units?
Window AC units are actually more popular in residential applications than their split counterparts because they are cheaper and easier to install (there’s only one unit). For these, the window sill should be at least 3 feet from the floor and the window opening should be large enough to fit the AC unit. The minimum window size should be 27 inches in width by 18 inches in height. Other requirements include having the following.
- Wooden window frames or wood packings in metal windows to absorb compressor vibrations
- 20 inches (500mm) minimum spacing from the AC unit to the adjacent wall or fence and the same allowance on either side internally and externally
- A minimum wall width of 150mm
- 75mm minimum overhang inside the building
The window should also be easily accessible to simplify maintenance.
Wrapping Up
Both split and window AC units are relatively easy to install, but the latter is easier to handle. Either way, consider the requirements for each one, specifically location and spacing, to determine the most suitable one to use. The wiring aspect can be easily modified, so this is a simple fix. If the location and spacing don’t allow, consider the portable AC unit option.